Bathroom Complete

The plumber finally finished the bathroom on Tuesday this week and I spent this morning fiddling around with all the finishing tasks that needed doing; fitting the towel holders, loo roll holder and the like.

But now, finally, somewhat later than we’d anticipated we can step back and admire the bathroom in all its finished glory.

DSCF1971

Bathroom - Bath


So pleased we went for the ‘risky’ tile option in the end. They’re lovely and warm underfoot with the underfloor heating and have a nice rough finish so aren’t proving slippery when wet.

Right.. off to do some wallpapering..


Wee can see!

Came home from work today and we finally have the WC and Sink installed in the bathroom!

Bathroom First Fix

With still no lighting downstairs, we’ll finally be able to clean our teeth with illumination! Still no shower yet, but I suppose we should be thankful of small things.

Slightly baffled why everything has gone in before the walls are painted, but hey, I’m probably just old fashioned..

Putting the Bath into Bathroom

Probably very small changes, but feels like a big leap forward with the bathroom today. The shower and bath are in!

ShowerFitted BathFitted


Feeling really pleased with the bath and the way it sets off the floor tiles. Sadly we can’t use the shower yet, so more trips to the gym required. Slightly wishing they’d started with the sink and toilet as we’re still having to use the downstairs WC in the pitch black at night! Still, the list of remaining jobs is getting shorter.. Walls to paint, sink/toilet to fit, electrics to hook up and shower screen to install and we’ll be pretty much done!

The bathroom is really starting to take shape now. The tiling is complete!

Bathroom Tiling 1 Bathroom Tiling 2


Finally we could see what the floor would look like with the tiles down that everyone else was so nervous about and thankfully we love it. The tiler assured us that tiling the whole shower in brick tiles would be the best solution for a number of reasons so that’s what we went with. Hopefully when the shower enclosure is installed my previous fears about edging will all be unfounded.

Kitchen No-Lights


So just as the bathroom is progressing well, the electrics situation seems to be taking a step backwards.

Faults have been found and rectified, such as the shared neutral for the landing light, but still the downstairs lighting circuit wont play ball. Current thinking is that there’s a problem somewhere in the kitchen area, so the disruption spreads..


Tiling!!

The tiler was due today, but the bathroom tiles were split between the garage in the garden and the boot of the car. I got up early, an hour before I needed to leave for work and thought that’ll be plenty of time to move the tiles upstairs ready for the tiler.

Tiles

I’m not sure what reasoning I’d applied, but I certainly underestimated the task in hand. Each pack of tiles came in at around 20kg, so suffice to say, I wasn’t going to take more than one box at a time.e

20 trips from the garden and up the stairs later I was thoroughly exhausted. Considerably more than an hour had past and I was now late for work.

Still we had neat piles of wall tiles, brick tiles for the shower, edging tiles and floor tiles all set to go.

Bathroom Progress

The bathroom has slowly been progressing. The floor has thrown up some unexpected challenges, namely just how much it seems to drop in one corner. The floor in our 4th bedroom the other side of the bathroom wall also drops significantly in the same corner and I’d never really thought much of it until we could see the floor exposed.

Panic set in whilst I was at work as I imagined the floor collapsing with the new weight of the tiled bathroom on it. Why did it drop so much? Had the previous owners removed some structural element without thinking about it?! A call to the bathroom guy reassured me that there was evidence someone had tried to level the floor, probably 30 or so years ago and that there was no evidence of any recent movement. Mental note to self to check out the floor for myself in the back room at some point.

Bathroom Plastered

Over the past few days the bathroom seems to have come on leaps and bounds.

The walls have been skimmed and painted. A new plywood floor has gone in. The shower tray has been installed and the area around the shower has been tanked.

I think we’re all set for the tiling now!

Bathroom Plastered 2

Bathroom – Day 4

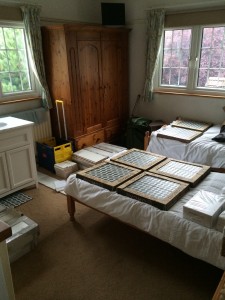
Back in Blighty now and everything has arrived for the Bathroom. We’ve completely lost the use of the hall now with all the stuff heaped up. Can’t wait for the weekend when we have to move it all upstairs!

Bathroom in Hall

Bathroom in Hall

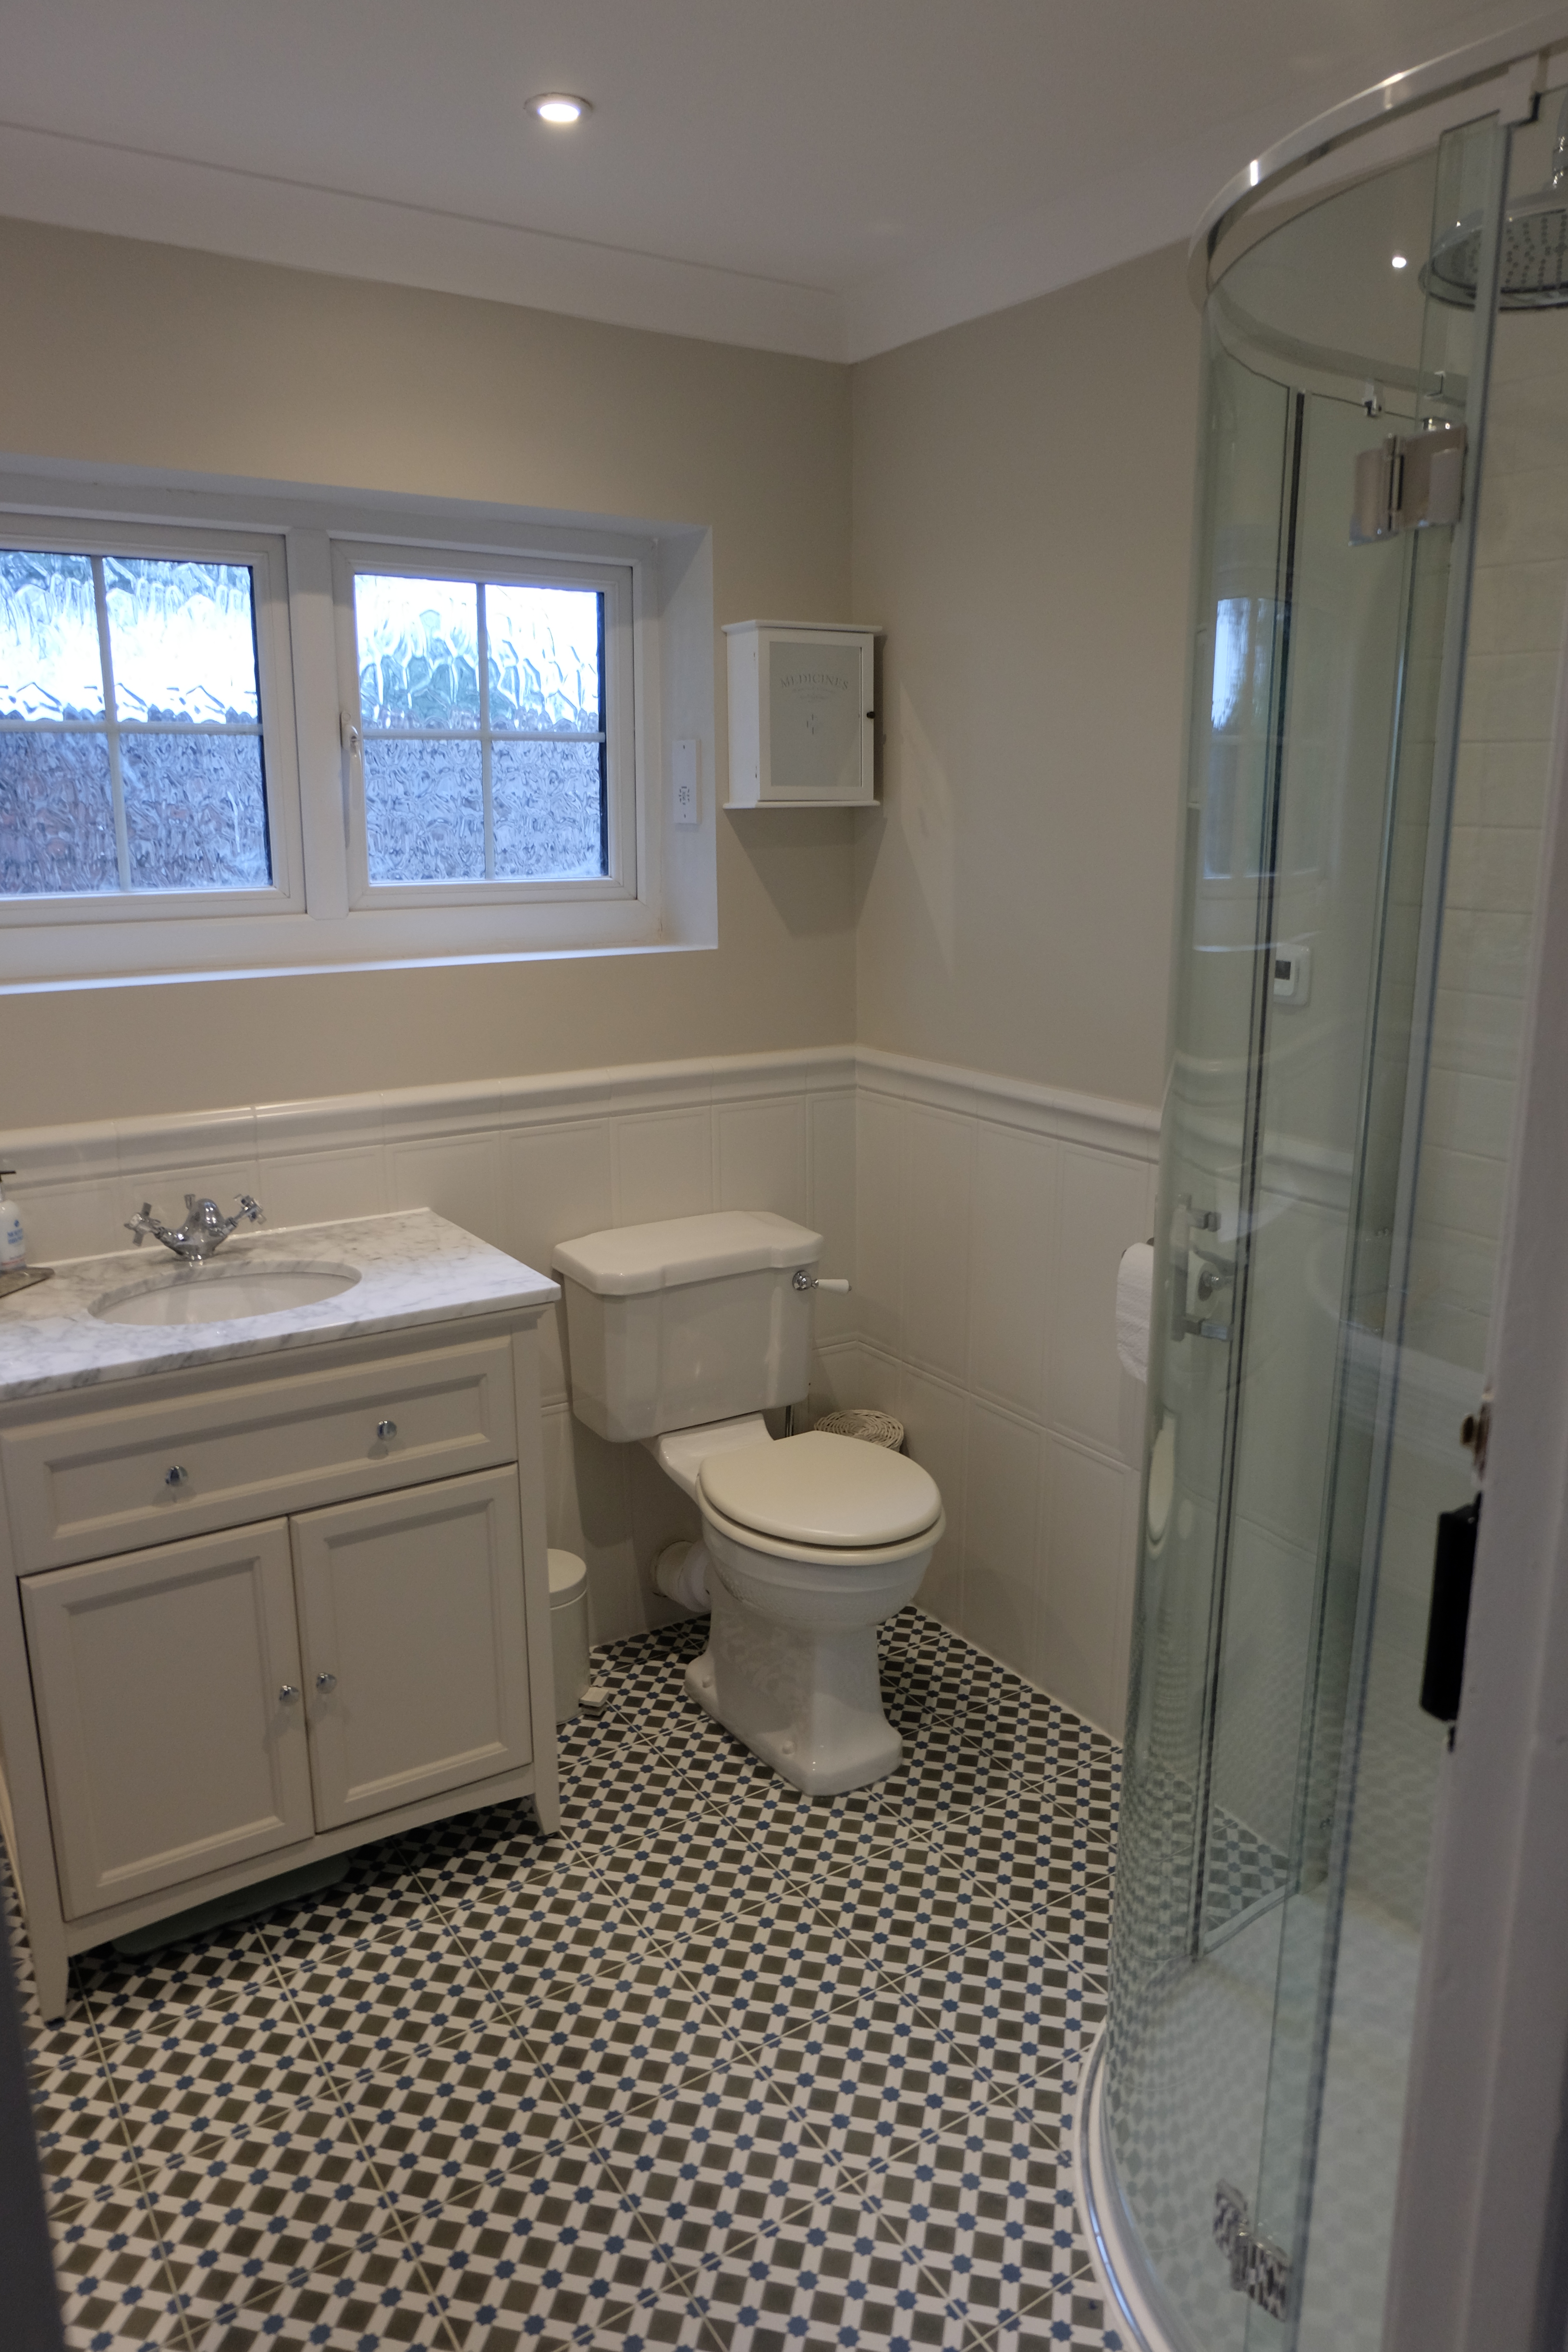
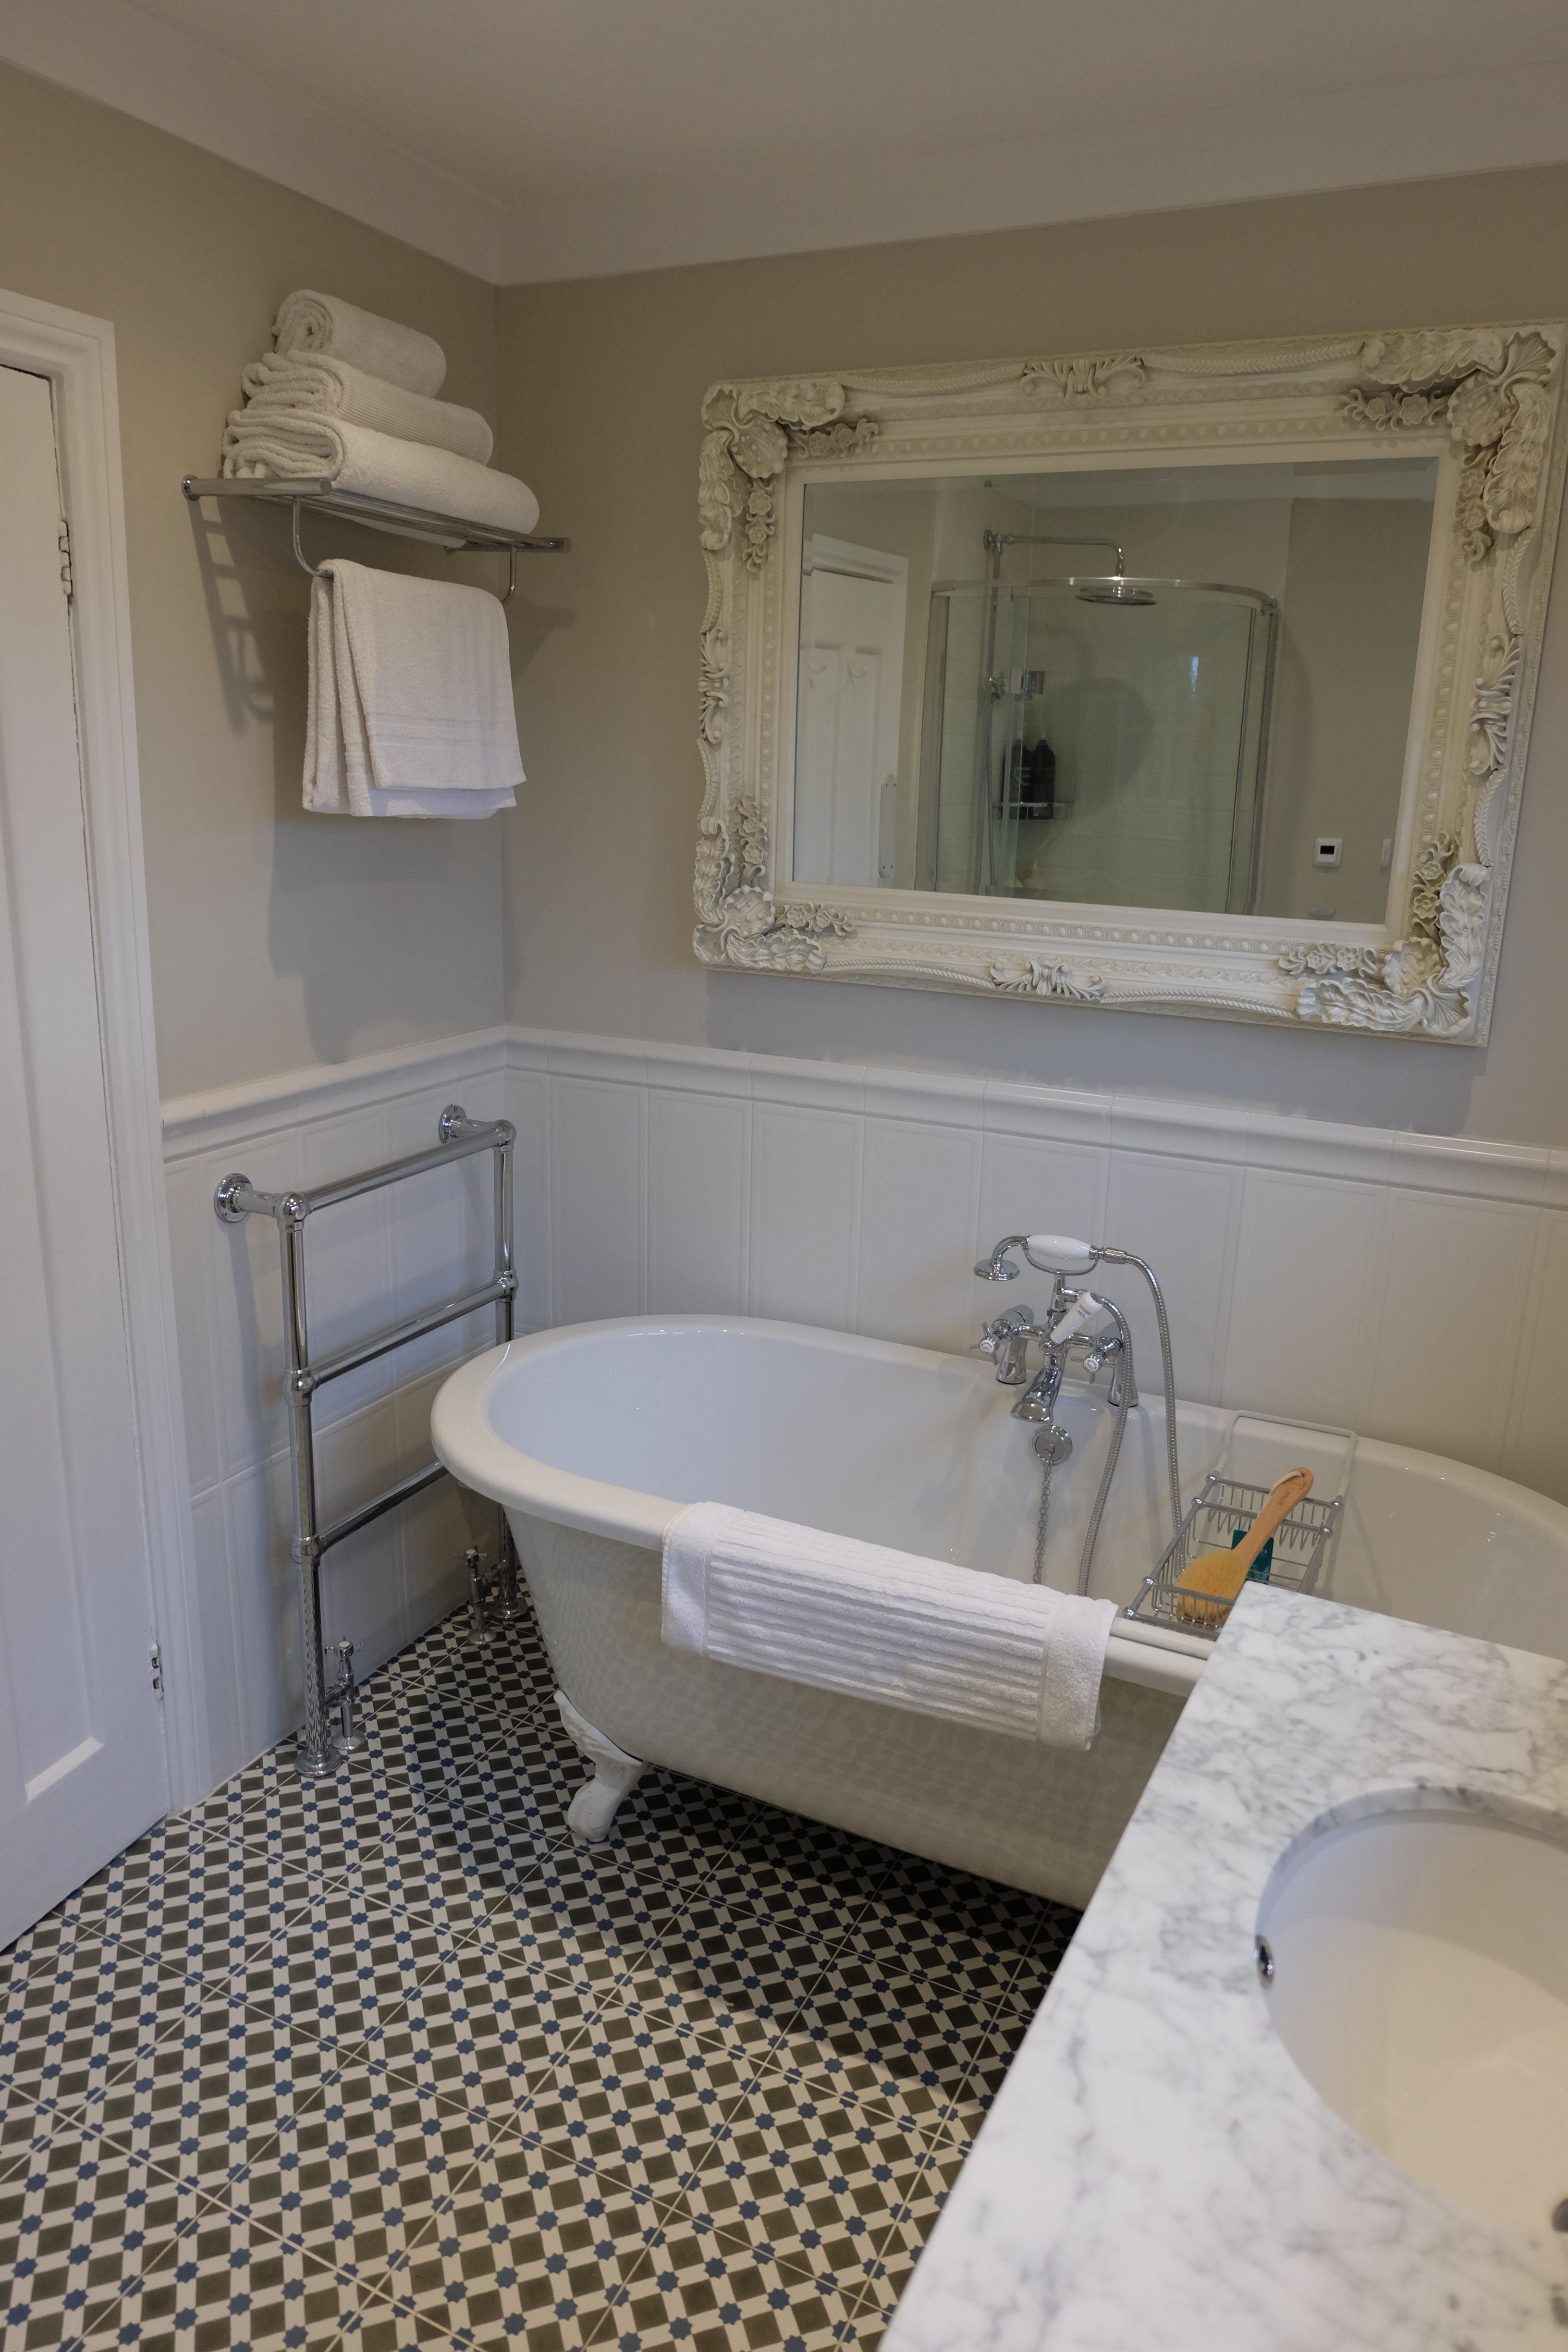
One of the challenges we have with the new bathroom layout is how to heat it. We previously had a white ladder rail plumbed into the central heating, which was great in the winter, but meant we had no way of drying towels in the summer.

With part tiled walls going in with a bevelled border, I wasn’t convinced a new full height ladder rail would work as it would have to bridge the tiled and non-tiled part of the wall. We’re also quite tight for space in the bathroom, so I set about the task of finding a slimline, dual-fuel (plumbed/electric), towel rail, ideally of a period design. This proved to be much more of a challenge than I anticipated.  It’s easy enough to get hold of a new half-height ladder rail that can be plumbed in as well as having an electric element, but ideally, we wanted something with a bit more of a period feel.

The first part of the challenge was just trying to find a period radiator that was slim enough to fit. Ideally it had to protrude no more than 15cm from the wall. For some reason, the vast majority of ‘classic’ towel radiators seem to have a deep towel hanging rail at the top taking them to around 25cm in depth at the top. That just wouldn’t work for us. A google for “Slimline Period Towel Radiator” started to yield more positive results with various options coming in, but none seemed to be dual-fuel. Plenty of plumbed in options available as well as some extremely expensive electric only.

Geyser Radiator

Mastering the google search, a few options popped up, but we were looking at serious money. £500+ for a radiator!! Finally, I came across www.geyser.co.uk who seemed to offer nearly all of their radiators in plumbed-only, electric-only or dual-fuel!

With a reasonable price tag and next day delivery it all seemed too good to be true! I ordered and true to their word, the next day it turned up and can be seen among the bathroom paraphernalia in the photo above.

It’s obviously not connected yet, but I have to say we’re really pleased with it having unpacked it. Looks to be well made with the heating element in an eminently sensible place. The proof will be in the pudding once it’s finally installed and connected up, but for service and product range – Geyser certainly seem to be worth a look!

Bathroom day 3

Mark is currently in Germany with work… funny how these work trips always come up when work on the house is planned! Anyhow, it is my pleasure to be at home during the dusty chaos and see it all take shape.

When we decided that the house needed a new bathroom ( this was not a difficult decision!) I envisaged a lovely new suite, new tiles and a fresh coat of paint. I did not expect that it would be taken back to the bare bones.

In an odd way it was very moving to stand in front of this brick wall. Over one hundred years old, a strong solid support, built to last for many families to enjoy and make their home.  It reminded me why we fell in love with this old and tired building.


bathroom 1 bathroom 2


Bathroom – Day 2

Day 2 and the bathroom guy is having trouble with the floor. It slopes a lot evidently and it’s obviously causing more problems that he’d originally envisaged. I’m beginning to wonder how the original estimate will actually shape up vs. the eventual bill!

Slopey Floor

Im also slightly worried, being abroad currently, about the above photo showing work thus far. Slightly concerned there’s nothing holding up the right hand side of the floor and the lathe and plaster wall. Will have to call the Bathroom guy tomorrow methinks..

T Day

T-Day. We’ve finally agreed on the silver travertine as the safest option. Shower and floor tiles to order. Back to the grey sandstone shop and a quick double check of their display before ordering. No. nonononono. We’ve gone off them. After weeks of deliberation, we’ve gone for the victorian effect in a split second decision. At least that’s one decision made!

The bathroom fitter is due on Monday and having broken down the quote into every conceivable stage, there’s an opportunity to save some money by taking the old suite and tiles out ourselves. How hard can it be?!

..very as it transpires. Especially in this crazy heat. Bath pannel off, disappointing to find that nobody had thought to fit shutoff valves to the bath taps. A job for later.

Bath Panel Off

The sink came out without too much drama, but then it was onto the toilet. Cistern, relatively straight-forward, but the pan!?!? oh my!! I’d swear someone had superglued the screws in place. Drenched in sweat and after some choice words, I’d managed to get 3 of the 4 screws securing the pan in place out. 1 to go, but CRACK!! The pan was suddenly free. In 2 pieces. Oh well, there go my plans to ebay it, but at least it’s out!

No Loo No Sink

Flowers now in the garden where they most definitely belong.

Flowers in the Garden

Removing the tiles with a hammer and bolster proved much more challenging than I’d envisaged. With tiny shards of razor sharp tile fragments flying all around and clumps of horse hair plaster coming off, I finally admitted defeat. Not an impossible task, but just one that was going to take much longer than I’d envisaged and not one that was really practical to complete in the heat. Looks like we’ll be paying the bathroom guy to clear the rest out afterall.

Not Much Removed