Bathroom Complete

The plumber finally finished the bathroom on Tuesday this week and I spent this morning fiddling around with all the finishing tasks that needed doing; fitting the towel holders, loo roll holder and the like.

But now, finally, somewhat later than we’d anticipated we can step back and admire the bathroom in all its finished glory.

DSCF1971

Bathroom - Bath


So pleased we went for the ‘risky’ tile option in the end. They’re lovely and warm underfoot with the underfloor heating and have a nice rough finish so aren’t proving slippery when wet.

Right.. off to do some wallpapering..


Marhshmallow Room Complete! (Almost)

Wednesday was another milestone date for us this week as the new carpet for the front room was being delivered.

Carpet

I could finally count the remaining list of jobs to do on one hand for the room so that evening immediately set about touching up the walls after my previous masking disaster Thankfully true to form the paint forgave me and with a further touch up early Saturday morning, only the most eagle eyed inspector would ever know anything was ever awry.

Next job to fit the ceiling light and then to move in the furniture.

Moving furniture is another job I find I always underestimate, but at least this job felt motivating. By the end of Saturday we could sit back and admire our handiwork. Suddenly all the woes and frustrations of the decoration seemed a distant memory.

Just the door to plane now and the light switch to replace for a dimmer and the room will be complete. On to the next!

Wee can see!

Came home from work today and we finally have the WC and Sink installed in the bathroom!

Bathroom First Fix

With still no lighting downstairs, we’ll finally be able to clean our teeth with illumination! Still no shower yet, but I suppose we should be thankful of small things.

Slightly baffled why everything has gone in before the walls are painted, but hey, I’m probably just old fashioned..

More on less Marshmallow..

We’re well into our second weekend of painting now for what we’d originally hoped would be an easy job for an single weekend.

Glossing

First order of the day was to ditch the last of the pink – namely the carpet. Thankfully the felt underlay beneath seemed in reasonable condition so that would be saved for reuse.

A job I despise almost at much as painting ceilings is sanding skirting board. I just have no idea how you’re meant to get into all the grooves. For the most part I used my electric mouse sander which always seems to sound like it’s about to pack up and die. This is technically my ‘new’ mouse sander as my previous had given up on me whilst sanding skirting boards in a previous life. Maybe it’s me and I’m just using them wrong, or maybe this is just a hint not to use Black and Decker sanders. By the time I’d finished the sanding, I could hardly hear anything above the ringing in my ears, but thankfully there was still enough time to get a coat of primer onto the windowsill and start glossing the skirting.

Painting the tops of old skirting against old plaster has always challenged me. I started off without masking, but could only manage an amateur finish. So out came the masking tape. The remaining 2 corners of the room, above the skirting and round the door frames were masked off and I slopped on the paint.

Glossing

By the end of the weekend, we were pretty much ready for the carpet and to put the furniture back – just the masking tape to peel off.

..and true to all my previous experiences of masking off walls, off came the paint and voila the pink beneath was enacting it’s evil revenge. Why does this happen?! Have I bought the wrong masking tape? Oh well, thankfully the F&B paint on the walls is proving extremely forgiving when touching up areas, so that’ll be something to sort out when the carpets in.

1 Weekends job had taken almost exactly 2, but at least it was finished and we still liked the colour!

Putting the Bath into Bathroom

Probably very small changes, but feels like a big leap forward with the bathroom today. The shower and bath are in!

ShowerFitted BathFitted


Feeling really pleased with the bath and the way it sets off the floor tiles. Sadly we can’t use the shower yet, so more trips to the gym required. Slightly wishing they’d started with the sink and toilet as we’re still having to use the downstairs WC in the pitch black at night! Still, the list of remaining jobs is getting shorter.. Walls to paint, sink/toilet to fit, electrics to hook up and shower screen to install and we’ll be pretty much done!

The bathroom is really starting to take shape now. The tiling is complete!

Bathroom Tiling 1 Bathroom Tiling 2


Finally we could see what the floor would look like with the tiles down that everyone else was so nervous about and thankfully we love it. The tiler assured us that tiling the whole shower in brick tiles would be the best solution for a number of reasons so that’s what we went with. Hopefully when the shower enclosure is installed my previous fears about edging will all be unfounded.

Kitchen No-Lights


So just as the bathroom is progressing well, the electrics situation seems to be taking a step backwards.

Faults have been found and rectified, such as the shared neutral for the landing light, but still the downstairs lighting circuit wont play ball. Current thinking is that there’s a problem somewhere in the kitchen area, so the disruption spreads..


Back to the future..

We’d had a few days to contemplate what to do about our 1980’s office room we’d gained. Various options including a complete repaint in the blue, or indeed in an entirely different colour were considered.

Friends and family had been consulted and we’d been met with such responses as “Gosh”. Clearly the grey/white scheme was not a hit.

The thought crossed my mind that actually, the worst part of the room was not infact the grey, but the combination of the grey and white. In for a penny, in for a pound, we thought we’d have a go at painting the whole room skimming stone to see if that improved things.

Before embarking on undoing all our hours spent cutting in and painting around the details, we thought we’d try a single panel in the same colour to see what we thought.

Skimming Stone Test

We both agreed that the uniform colour was an improvement so a couple of hours later, we had an entirely stone skimmed room.

All Skimming Stone

Clearly this was going to need another coat or two, but the room began to feel lifted back out of the 80s and very much into 2014 living. Overall, we felt much more positive and energised about the painting process again. I’m sure that’ll last just until I have to start the woodwork.

Tiling!!

The tiler was due today, but the bathroom tiles were split between the garage in the garden and the boot of the car. I got up early, an hour before I needed to leave for work and thought that’ll be plenty of time to move the tiles upstairs ready for the tiler.

Tiles

I’m not sure what reasoning I’d applied, but I certainly underestimated the task in hand. Each pack of tiles came in at around 20kg, so suffice to say, I wasn’t going to take more than one box at a time.e

20 trips from the garden and up the stairs later I was thoroughly exhausted. Considerably more than an hour had past and I was now late for work.

Still we had neat piles of wall tiles, brick tiles for the shower, edging tiles and floor tiles all set to go.

Bathroom Progress

The bathroom has slowly been progressing. The floor has thrown up some unexpected challenges, namely just how much it seems to drop in one corner. The floor in our 4th bedroom the other side of the bathroom wall also drops significantly in the same corner and I’d never really thought much of it until we could see the floor exposed.

Panic set in whilst I was at work as I imagined the floor collapsing with the new weight of the tiled bathroom on it. Why did it drop so much? Had the previous owners removed some structural element without thinking about it?! A call to the bathroom guy reassured me that there was evidence someone had tried to level the floor, probably 30 or so years ago and that there was no evidence of any recent movement. Mental note to self to check out the floor for myself in the back room at some point.

Bathroom Plastered

Over the past few days the bathroom seems to have come on leaps and bounds.

The walls have been skimmed and painted. A new plywood floor has gone in. The shower tray has been installed and the area around the shower has been tanked.

I think we’re all set for the tiling now!

Bathroom Plastered 2

Back to the 80s..

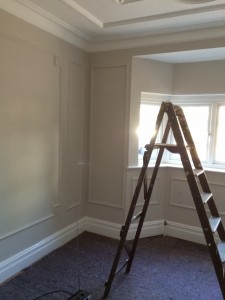
A new day, another coat of white. An early start today, up and painting at 7 to try and break the back of the painting.

Still All White
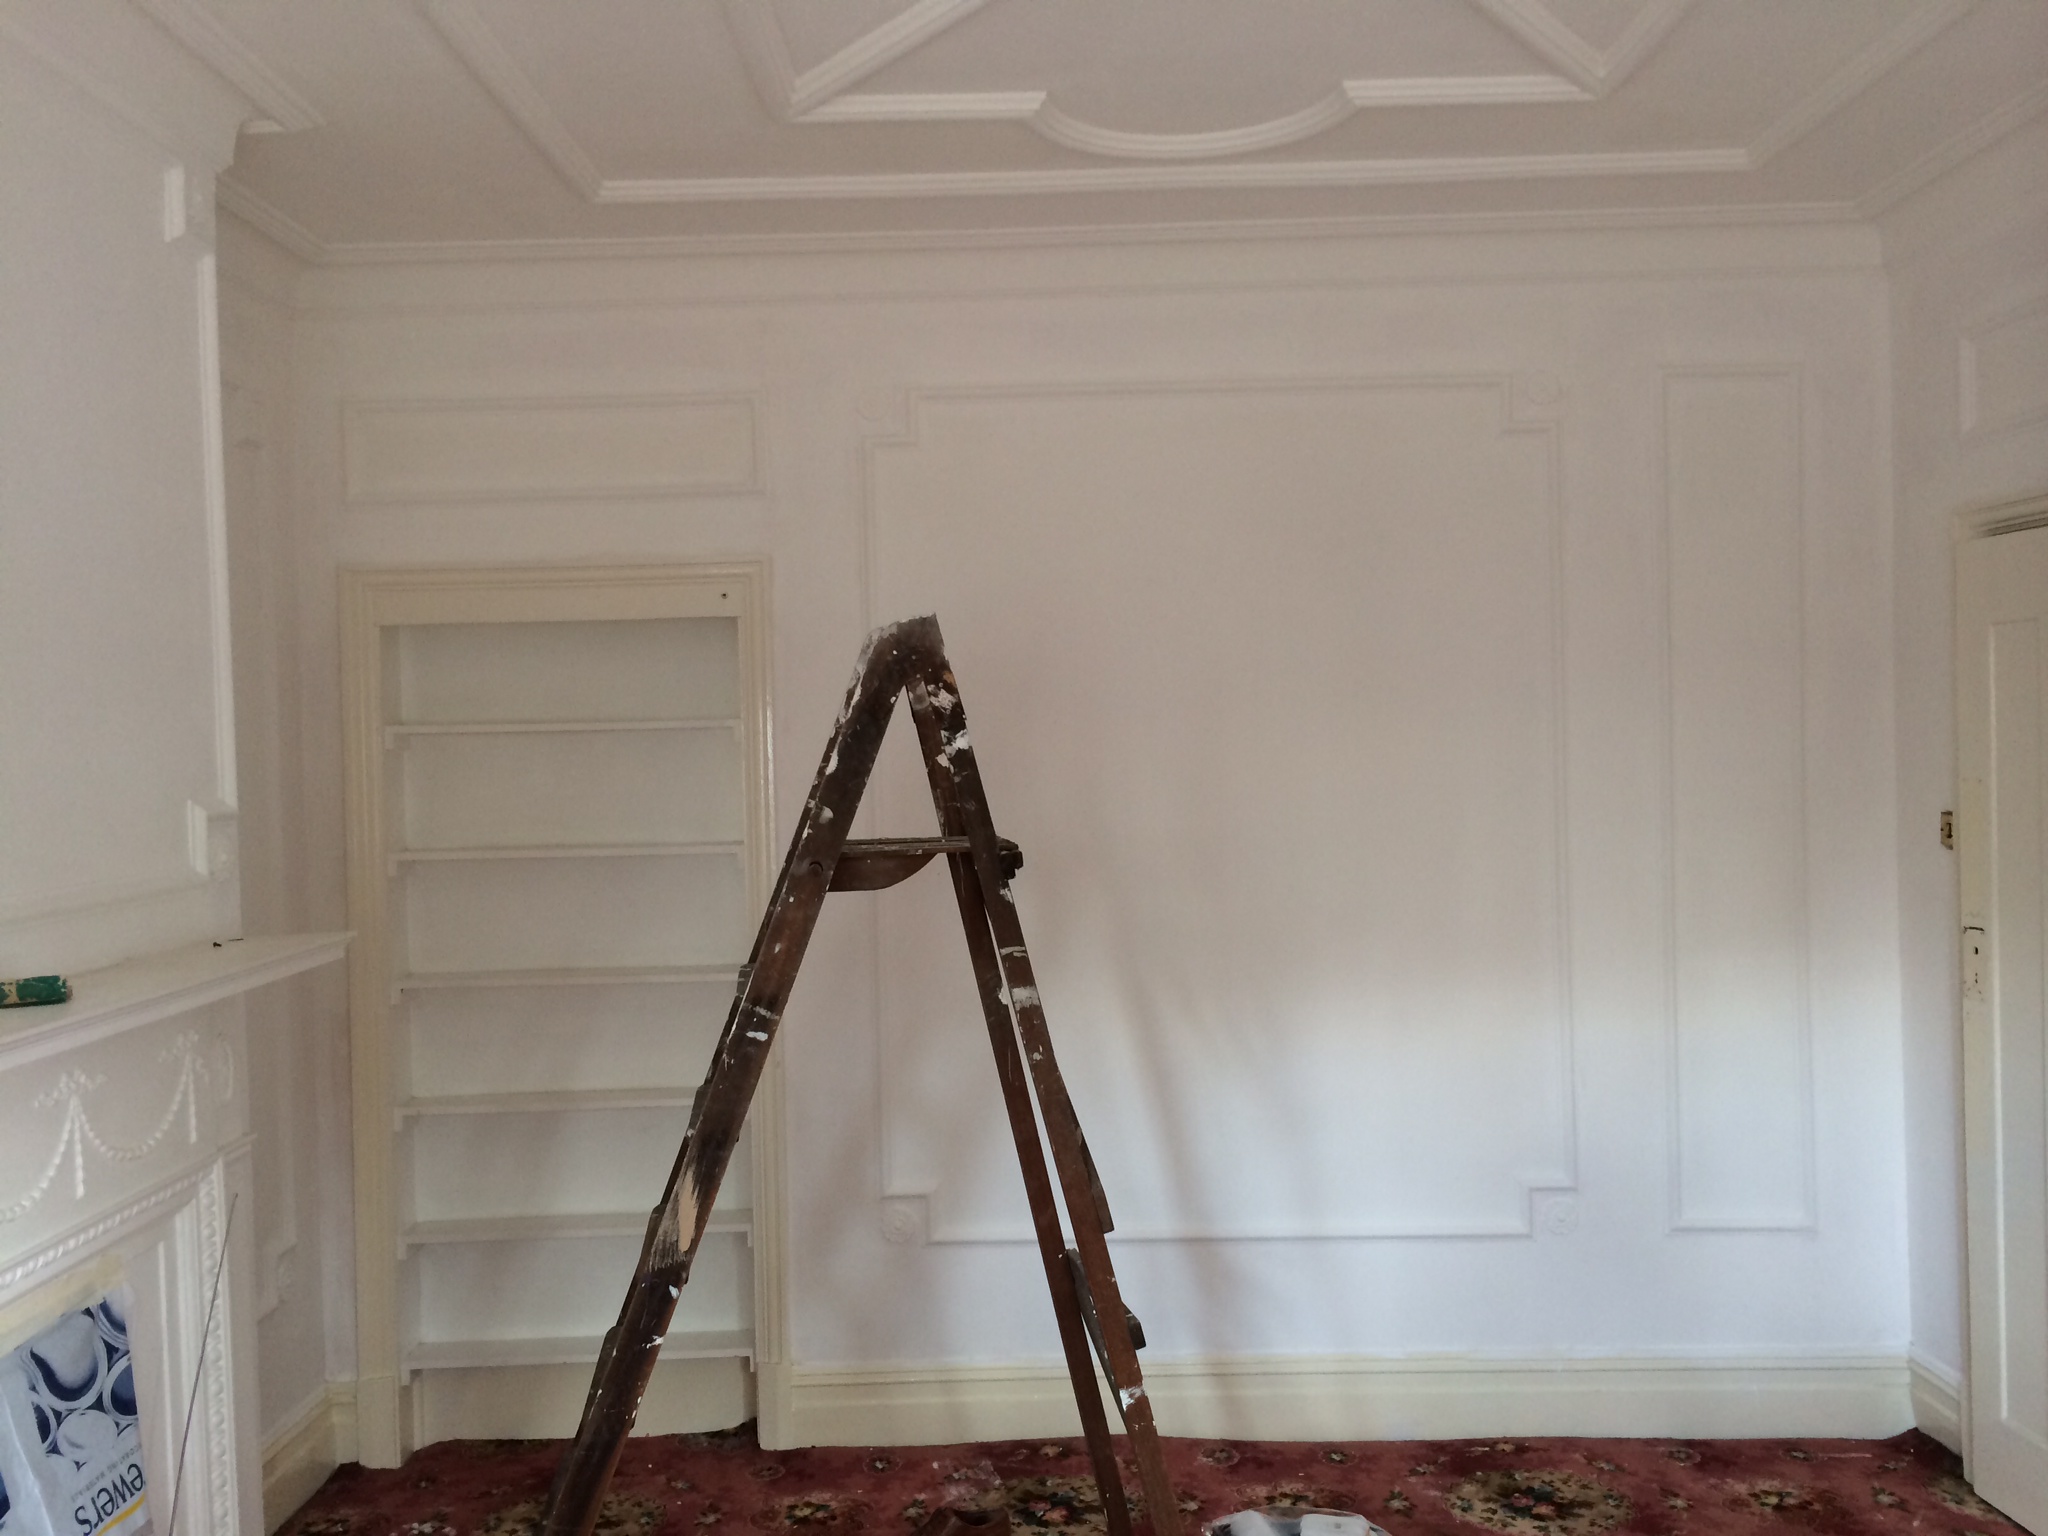
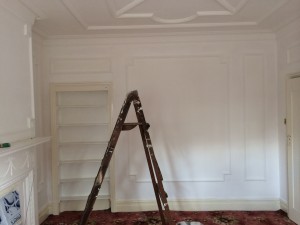
By lunchtime everything had had another coat of white. The ceiling was pretty much finished and good to go and there was almost no trace of the pink left on the walls.

As we broke for lunch, there was an excitement in the air as finally we would get to try the new colour on the walls in the afternoon. Just 4 hours to wait until the first coat was dry and so hopefully by the end of the days, the walls would have their first coat of “Skimming Stone” complete.

We’d opted for the “Estate Emulsion” version of Farrow and Ball’s “Skimming Stone” and I have to say, my previous fears about the paint were all unfounded.  As we set to work with a combination of rollers, brushes and the detail brushes, the paint proved remarkably forgiving, settling back to a wonderful smooth even matt finish.

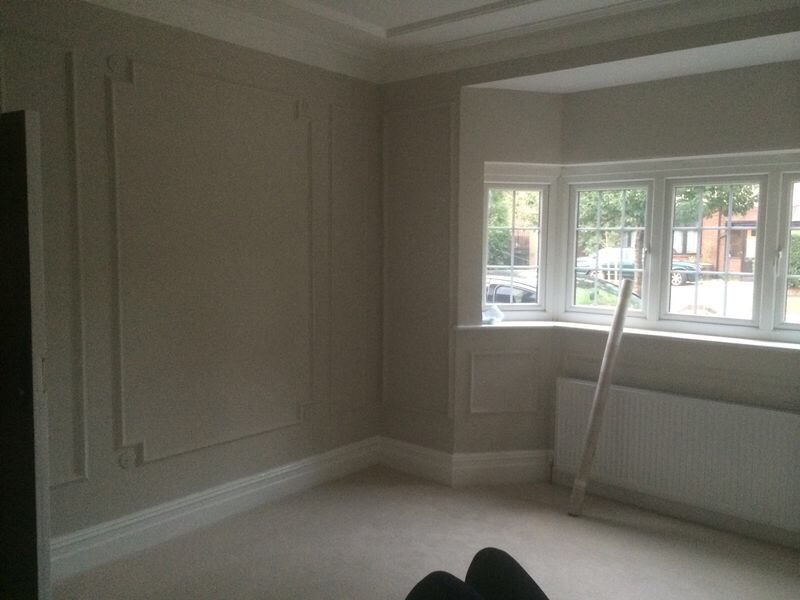
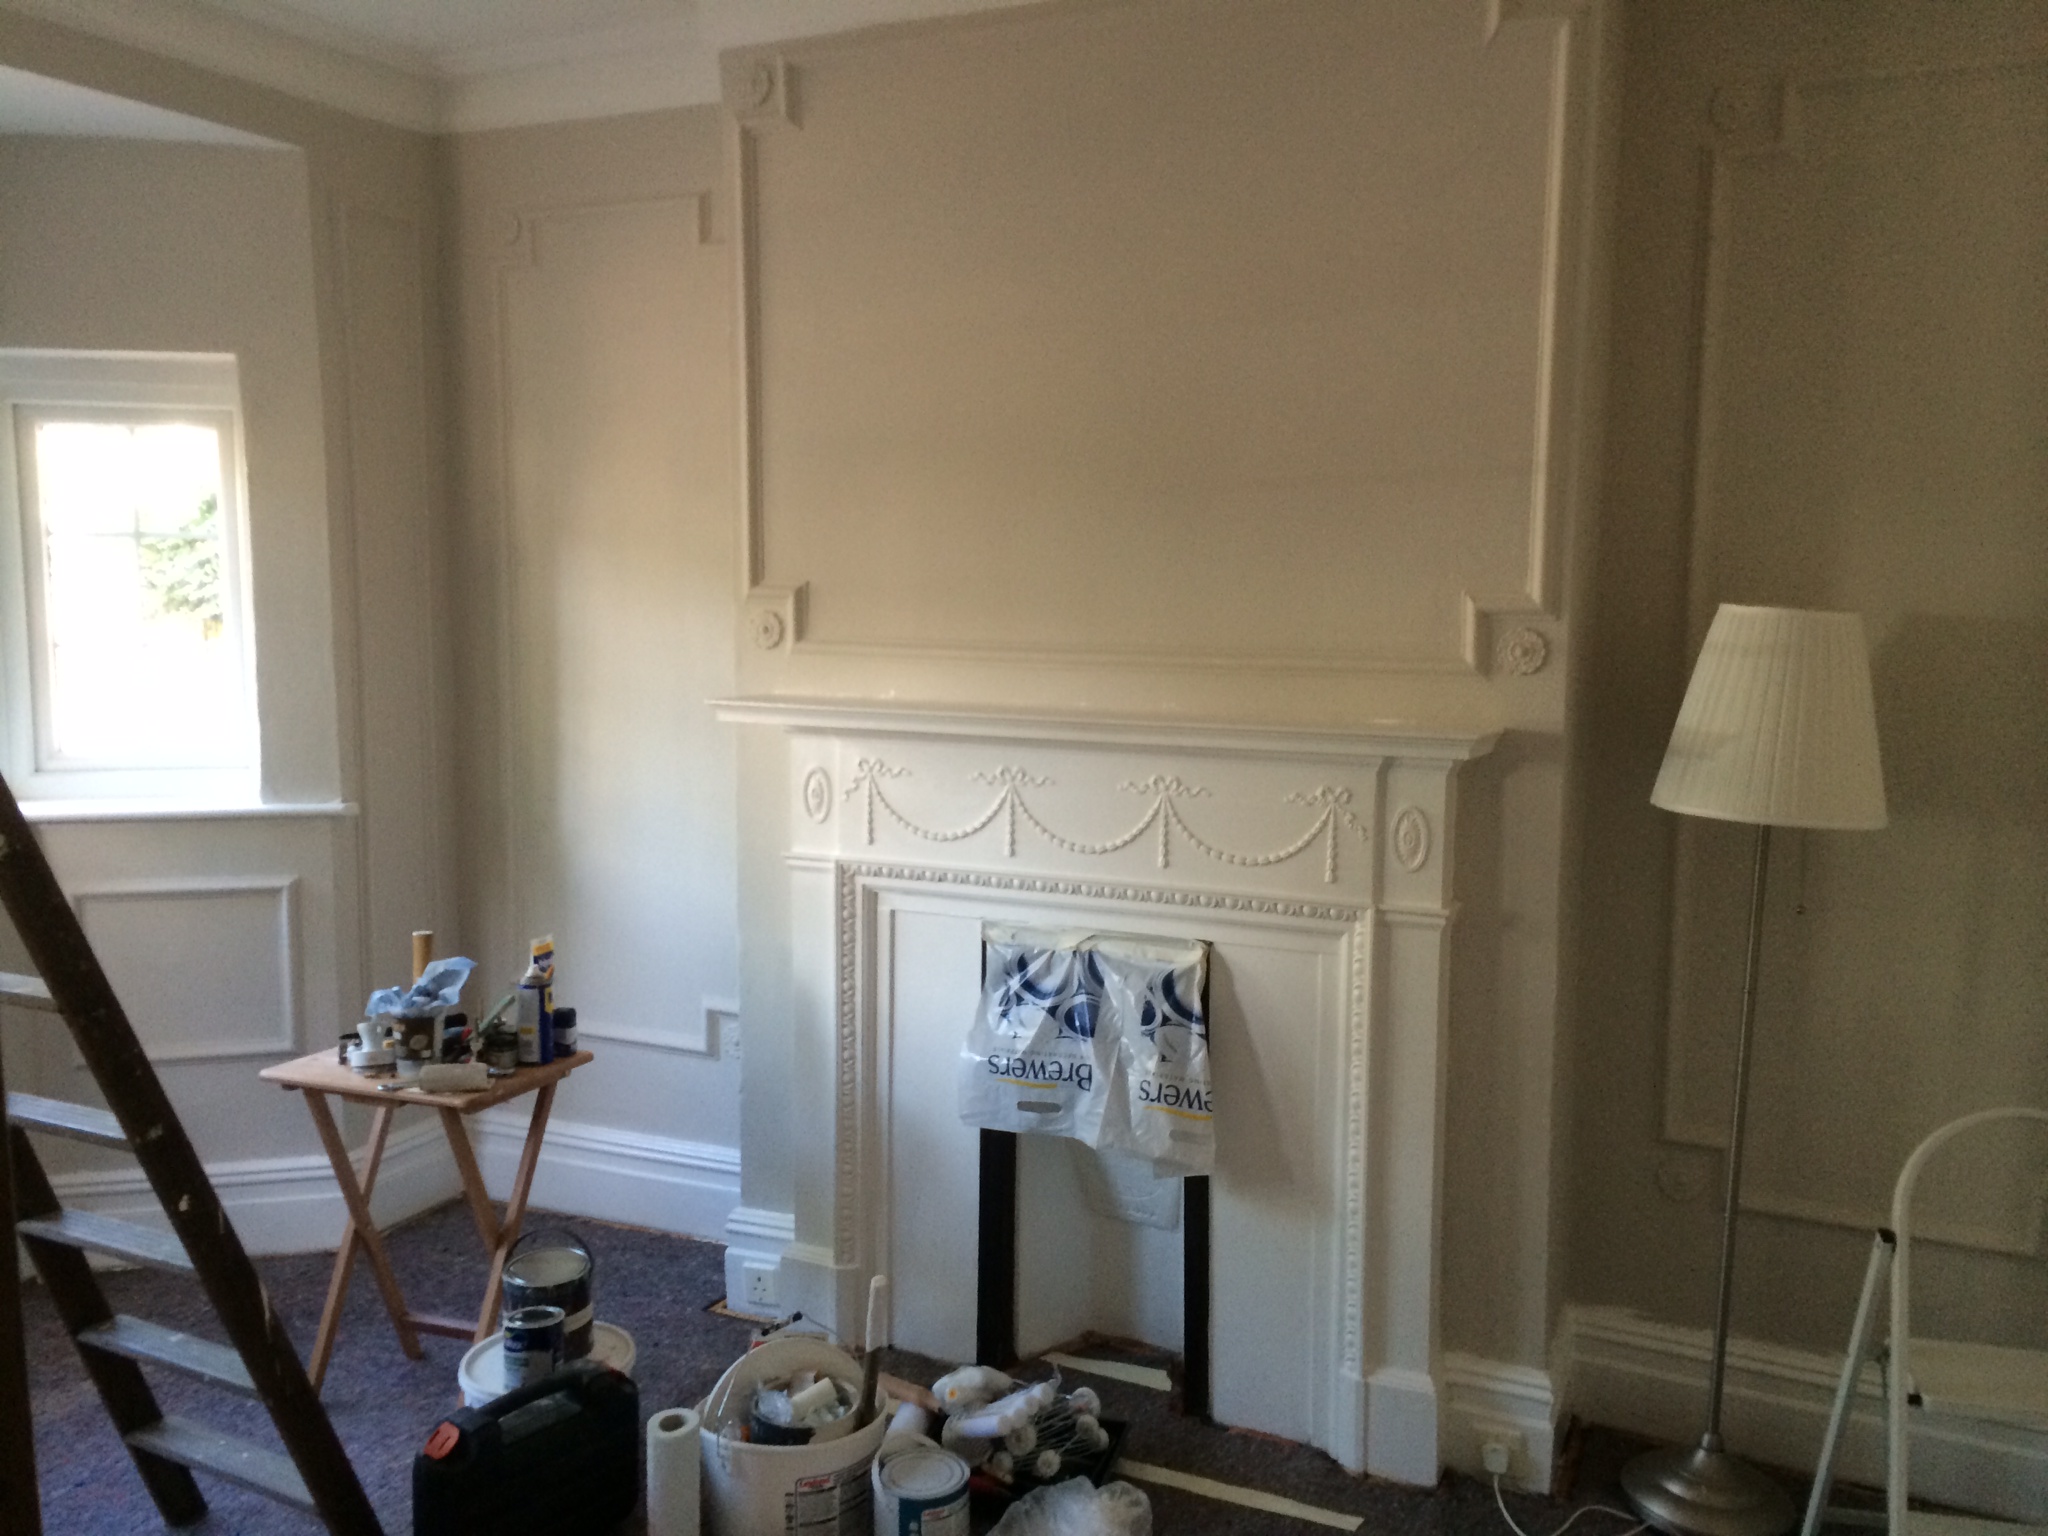
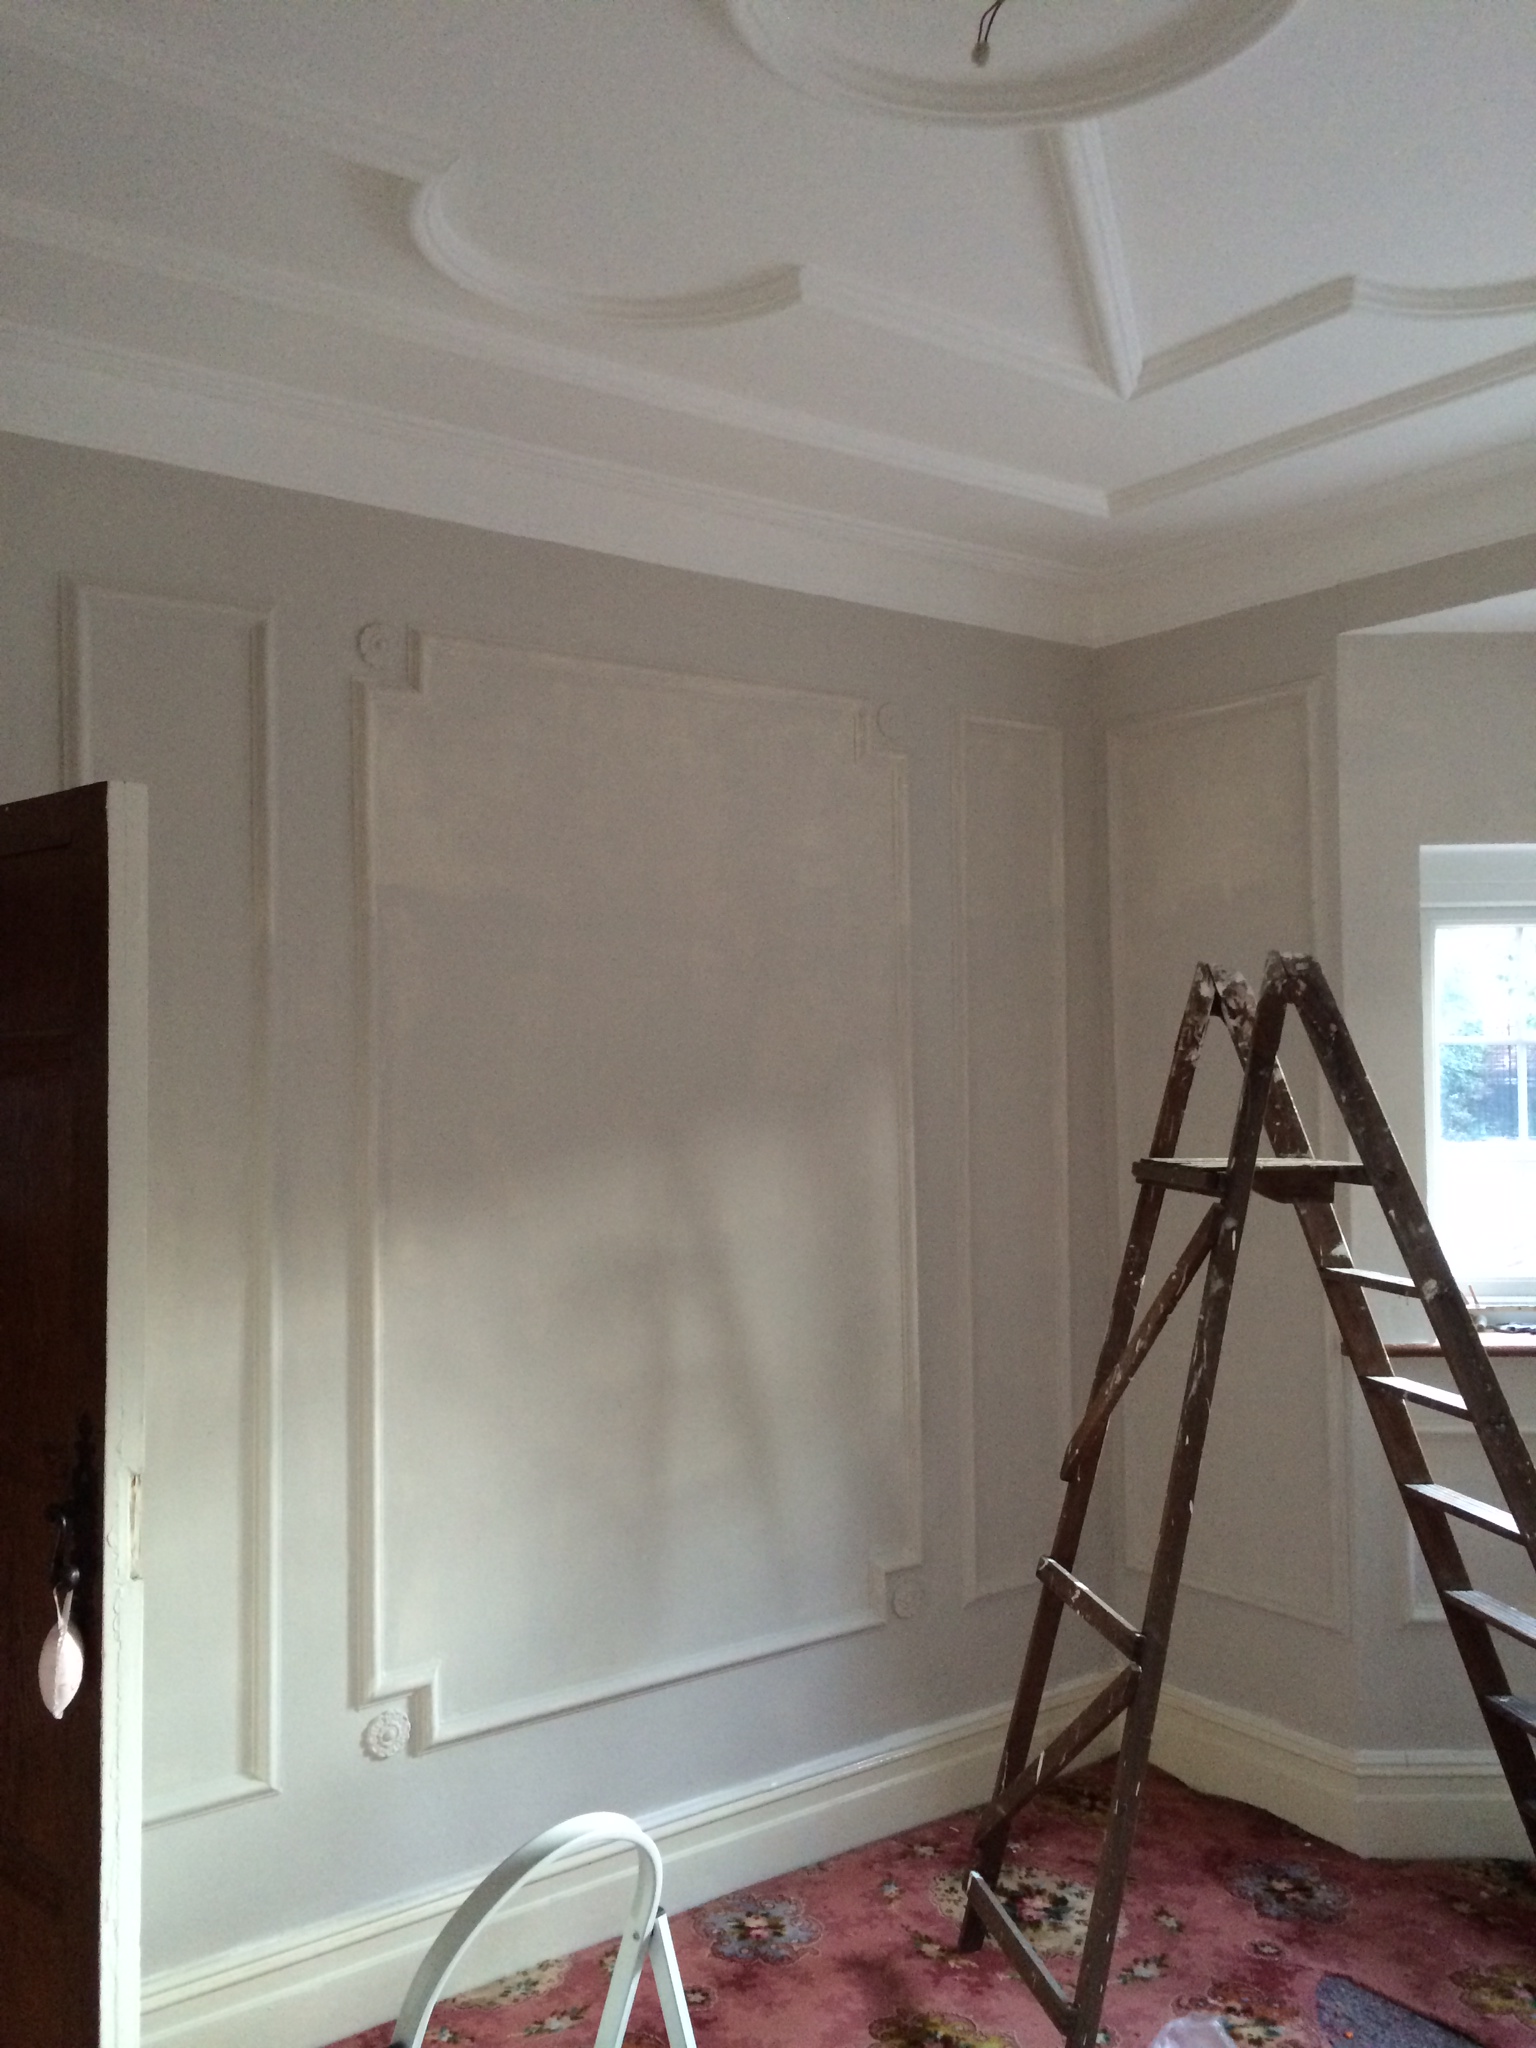
My wife had originally ordered the paint and along with the various supplies she’d come back with was a set of these Hamilton brushes. I shuddered to think about how much she must have spent on these “Artists Brushes”. I imagined the glee on the salesmans face in the shop when he had recommended and sold these too her, but it transpired much humble pie was to be consumed. I still haven’t checked out the price of them, but along with the Leyland paint, these are now on my absolute must have list. Our plan was to paint the walls leaving the panneling and frames white initially. We’d purchased the blue paint to go in the panels, but I secretly hoped that if the Skimming stone / White combination looked ok, then we could hopefully leave it at that. This meant, however, that around the edges of the panneling and around the rose details, there was an awful lot of cutting in and fine detail to paint. These brushes turned out to be an absolute godsend. I cannot recommend them highly enough.

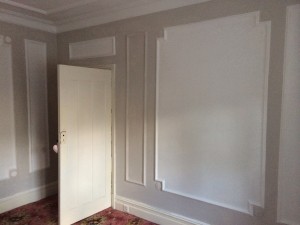
So.. back to the plan, by late evening, the walls were all coated and then the doubt crept in.

Lounge-Grey2We’d gone back to the 80’s! More specifically looking at what we’d achieved, it looked like we’d turned our lovely room in to a 1980’s office. The Skimming Stone looked like graveyard grey on the wall. Far darker than we’d envisaged and seemingly far darker than the sample pot we’d tried.


Lounge-Grey
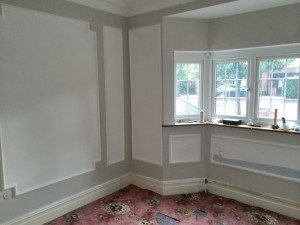
What a deflating way to end a hard days work. As we pondered the options, we thought about trying a small section of Blue for the panneling to see if this would make things better.

No, the blue just seemed to make things worse. That too didn’t look like the blue colour we were expecting.

And so with a mountain of brushes, rollers and trays to wash up, we retired for the evening, feeling thoroughly depressed and unsure as to what to do next with the decorating.